Ultimate Guide to DIY Auto Repairs and Maintenance Tips
- swarthytroll2022
- Jul 3
- 5 min read

Owning a car can be a rewarding experience, but it also comes with its fair share of responsibilities. Regular maintenance and occasional repairs are essential to keep your vehicle running smoothly. Many car owners feel intimidated by the idea of DIY auto repairs, but with the right knowledge and tools, you can save money and gain confidence in your abilities. This guide will walk you through essential tips and tricks for DIY auto repairs and maintenance.
Understanding Your Vehicle
Before diving into repairs, it is crucial to understand the basics of your vehicle. Familiarize yourself with the owner's manual, as it contains valuable information about your car's specifications, maintenance schedule, and troubleshooting tips.
Key Components to Know
Engine: The heart of your vehicle, responsible for converting fuel into motion.
Transmission: Transfers power from the engine to the wheels, allowing your car to move.
Brakes: Essential for safety, they slow down or stop your vehicle.
Battery: Provides the electrical power needed to start your car and run accessories.
Tires: The only contact your car has with the road, making their condition vital for safety and performance.
Understanding these components will help you identify issues and perform repairs more effectively.
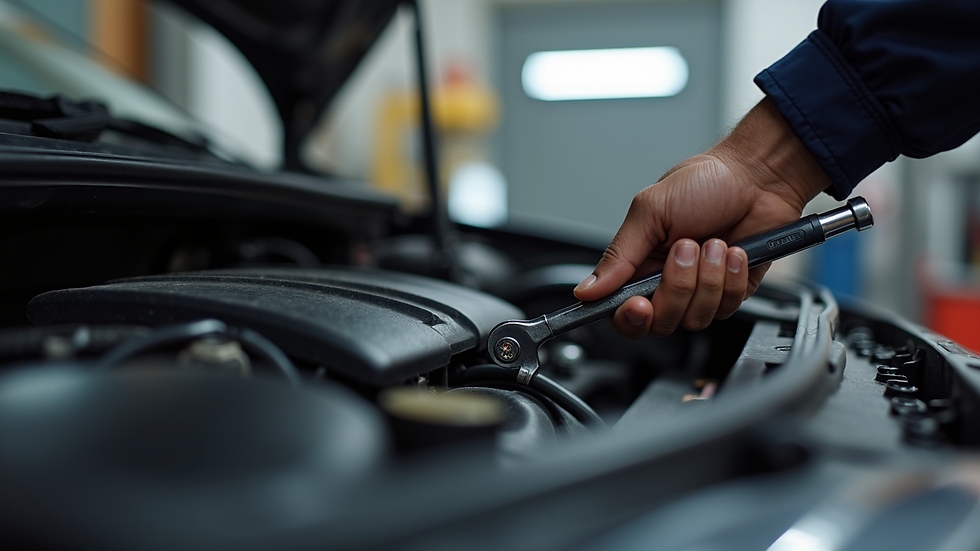
Essential Tools for DIY Repairs
Having the right tools is crucial for any DIY project. Here are some essential tools you should have in your garage:
Socket Set: A good socket set will help you tackle most repairs.
Wrenches: Both standard and adjustable wrenches are necessary for various tasks.
Screwdrivers: A set of flathead and Phillips screwdrivers will cover most needs.
Pliers: Useful for gripping, twisting, and cutting wires.
Jack and Jack Stands: Essential for lifting your vehicle safely when working underneath.
Multimeter: Helps diagnose electrical issues.
Oil Filter Wrench: Makes changing the oil filter easier.
Investing in quality tools will make your repairs easier and more efficient.
Routine Maintenance Tips
Regular maintenance is key to prolonging the life of your vehicle. Here are some essential maintenance tasks you should perform:
Oil Changes
Changing your oil regularly is one of the most important maintenance tasks. Follow these steps:
Gather Supplies: You will need new oil, an oil filter, a wrench, and an oil catch pan.
Warm Up the Engine: Run your engine for a few minutes to warm the oil, making it easier to drain.
Drain the Old Oil: Remove the oil drain plug and let the old oil flow into the catch pan.
Replace the Oil Filter: Use the oil filter wrench to remove the old filter and install the new one.
Add New Oil: Replace the drain plug and pour in the new oil through the oil filler cap.
Check the Level: Use the dipstick to ensure the oil level is correct.
Tire Maintenance
Tires are crucial for safety and performance. Here are some tips for maintaining them:
Check Tire Pressure: Use a tire pressure gauge to ensure your tires are inflated to the recommended level.
Rotate Tires: Rotate your tires every 5,000 to 7,500 miles to promote even wear.
Inspect Tread Depth: Use the penny test to check tread depth. Insert a penny into the tread; if you can see all of Lincoln's head, it's time for new tires.
Brake Checks
Brakes are vital for safety. Regularly check the following:
Brake Pads: Inspect for wear. If they are less than a quarter-inch thick, consider replacing them.
Brake Fluid: Check the fluid level and top it off if necessary.
Listen for Noises: Squeaking or grinding noises can indicate worn brake pads.
Common DIY Repairs
Many repairs can be done at home with a little patience and the right tools. Here are some common DIY repairs:
Replacing Wiper Blades
Worn wiper blades can reduce visibility during rain. Here’s how to replace them:
Lift the Wiper Arm: Pull the wiper arm away from the windshield.
Remove the Old Blade: Press the tab on the wiper blade and slide it off the arm.
Attach the New Blade: Slide the new blade onto the arm until it clicks into place.
Lower the Wiper Arm: Gently return the wiper arm to its original position.
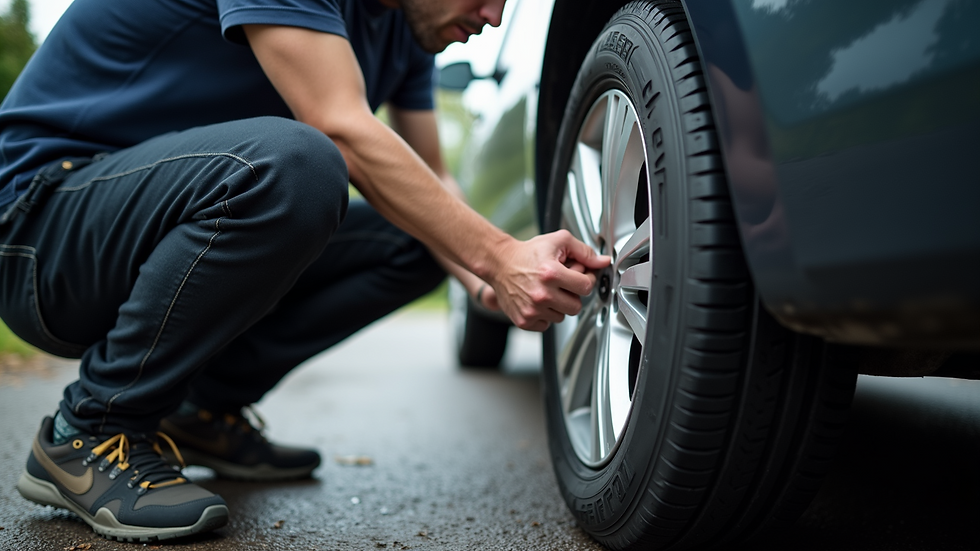
Changing a Flat Tire
A flat tire can happen to anyone. Here’s how to change it:
Find a Safe Location: Pull over to a flat, stable area away from traffic.
Loosen the Lug Nuts: Use a wrench to loosen the lug nuts before lifting the car.
Lift the Vehicle: Use a jack to lift the car off the ground.
Remove the Flat Tire: Take off the lug nuts and remove the flat tire.
Install the Spare Tire: Place the spare tire on the hub and hand-tighten the lug nuts.
Lower the Vehicle: Carefully lower the car back to the ground and tighten the lug nuts fully.
Replacing Headlights
Driving with a burnt-out headlight is unsafe. Here’s how to replace it:
Open the Hood: Locate the headlight assembly.
Remove the Old Bulb: Twist the bulb socket counterclockwise to remove it.
Install the New Bulb: Insert the new bulb into the socket and twist it clockwise to secure it.
Test the Headlight: Turn on your headlights to ensure the new bulb works.
Troubleshooting Common Issues
Sometimes, your car may exhibit problems that require troubleshooting. Here are some common issues and how to address them:
Engine Won't Start
If your engine won't start, consider these possibilities:
Dead Battery: Check if the battery is charged. Jump-start if necessary.
Fuel Issues: Ensure there is fuel in the tank. If the fuel gauge is broken, you may need to check the fuel pump.
Starter Problems: Listen for clicking sounds when turning the key. If you hear clicks but the engine doesn't turn over, the starter may be faulty.
Overheating Engine
An overheating engine can lead to severe damage. Here’s what to check:
Coolant Level: Ensure the coolant reservoir is filled to the proper level.
Thermostat: A stuck thermostat can prevent coolant from circulating.
Radiator: Check for leaks or blockages in the radiator.
Warning Lights
Modern vehicles come equipped with warning lights on the dashboard. Here’s how to respond:
Check Engine Light: This could indicate various issues. Use an OBD-II scanner to read the error codes.
Oil Pressure Light: If this light comes on, check your oil level immediately.
Battery Light: This may indicate a charging issue. Check the battery and alternator.
Safety First
When performing DIY repairs, safety should always be your top priority. Here are some safety tips to keep in mind:
Wear Protective Gear: Use gloves and safety glasses to protect yourself.
Work in a Well-Ventilated Area: Ensure proper airflow, especially when working with chemicals.
Use Jack Stands: Never rely solely on a jack to hold up your vehicle.
Follow Instructions: Always refer to your owner's manual for specific instructions related to your vehicle.
Resources for DIY Enthusiasts
If you are looking to expand your knowledge, consider these resources:
YouTube: Many channels offer step-by-step tutorials for various repairs.
Online Forums: Join car enthusiast forums to ask questions and share experiences.
Repair Manuals: Invest in a repair manual specific to your vehicle model for detailed instructions.
Final Thoughts
Embarking on DIY auto repairs can be a fulfilling journey. Not only can you save money, but you also gain valuable skills and knowledge about your vehicle. Start with simple tasks and gradually work your way up to more complex repairs. Remember, practice makes perfect. With patience and persistence, you can become a confident DIY mechanic.
By taking the time to learn and perform your own auto repairs, you not only enhance your vehicle's performance but also empower yourself with the knowledge to tackle future challenges. Happy repairing!


댓글